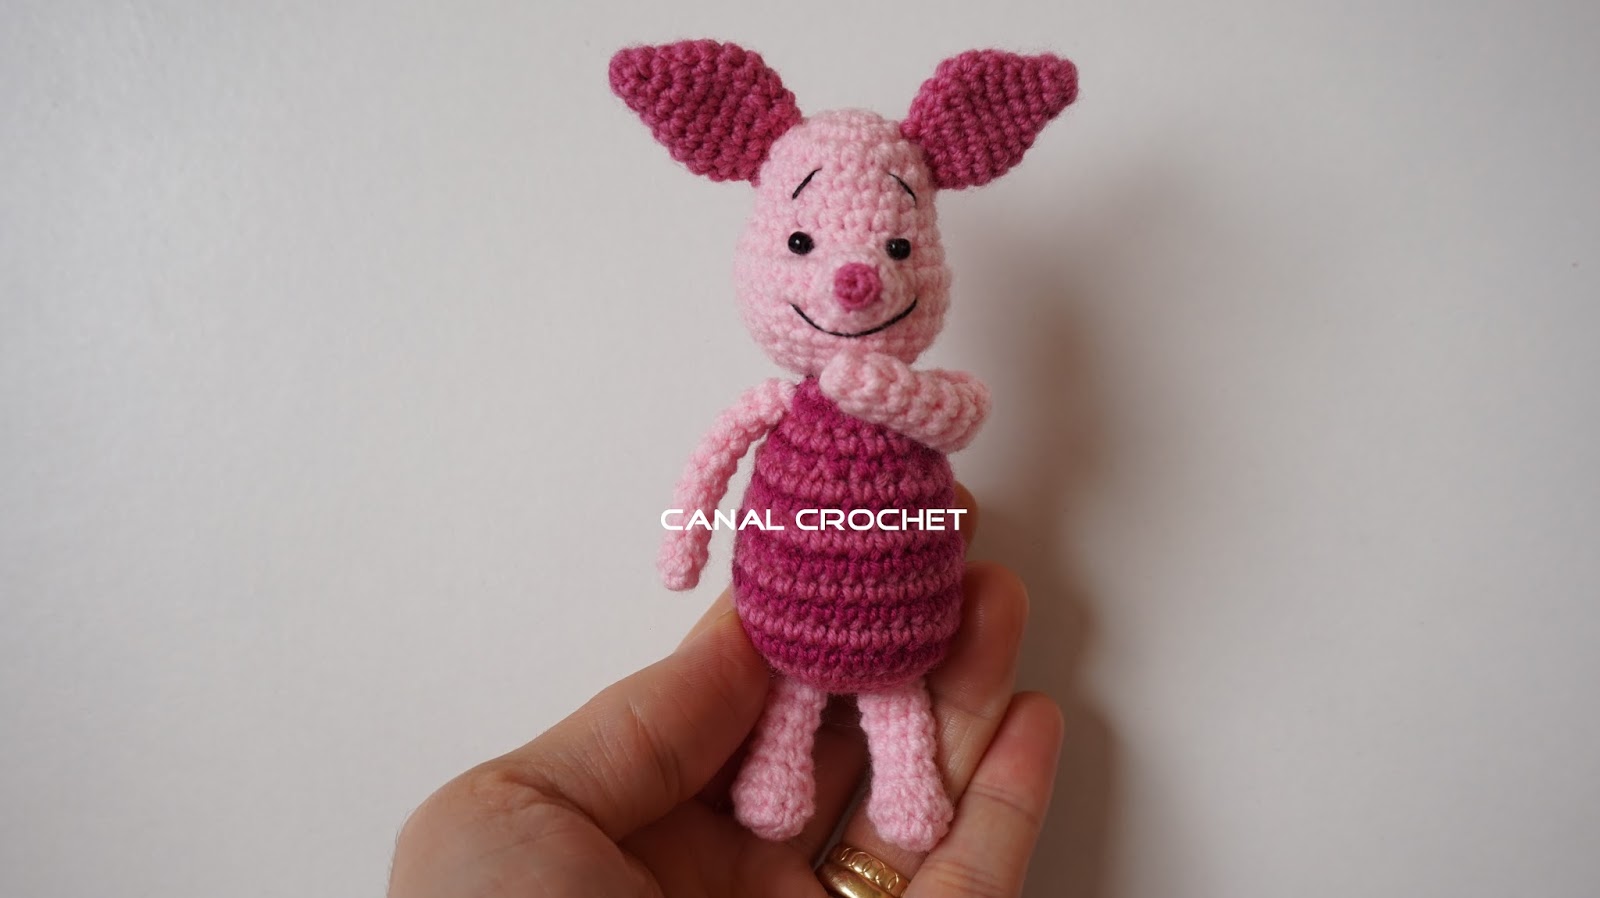
作者又分享了小豬的織圖,也有視訊,這也好可愛喔!
文章來源:http://amigurumilacion.blogspot.tw/2016/04/piglet-amigurumi-tutorial.html
Piglet amigurumi tutorial
Amigurumis
Piglet amigurumi:
En video:
Materiales:
Lana rosa claro, 2 tonos de rosa oscuro.
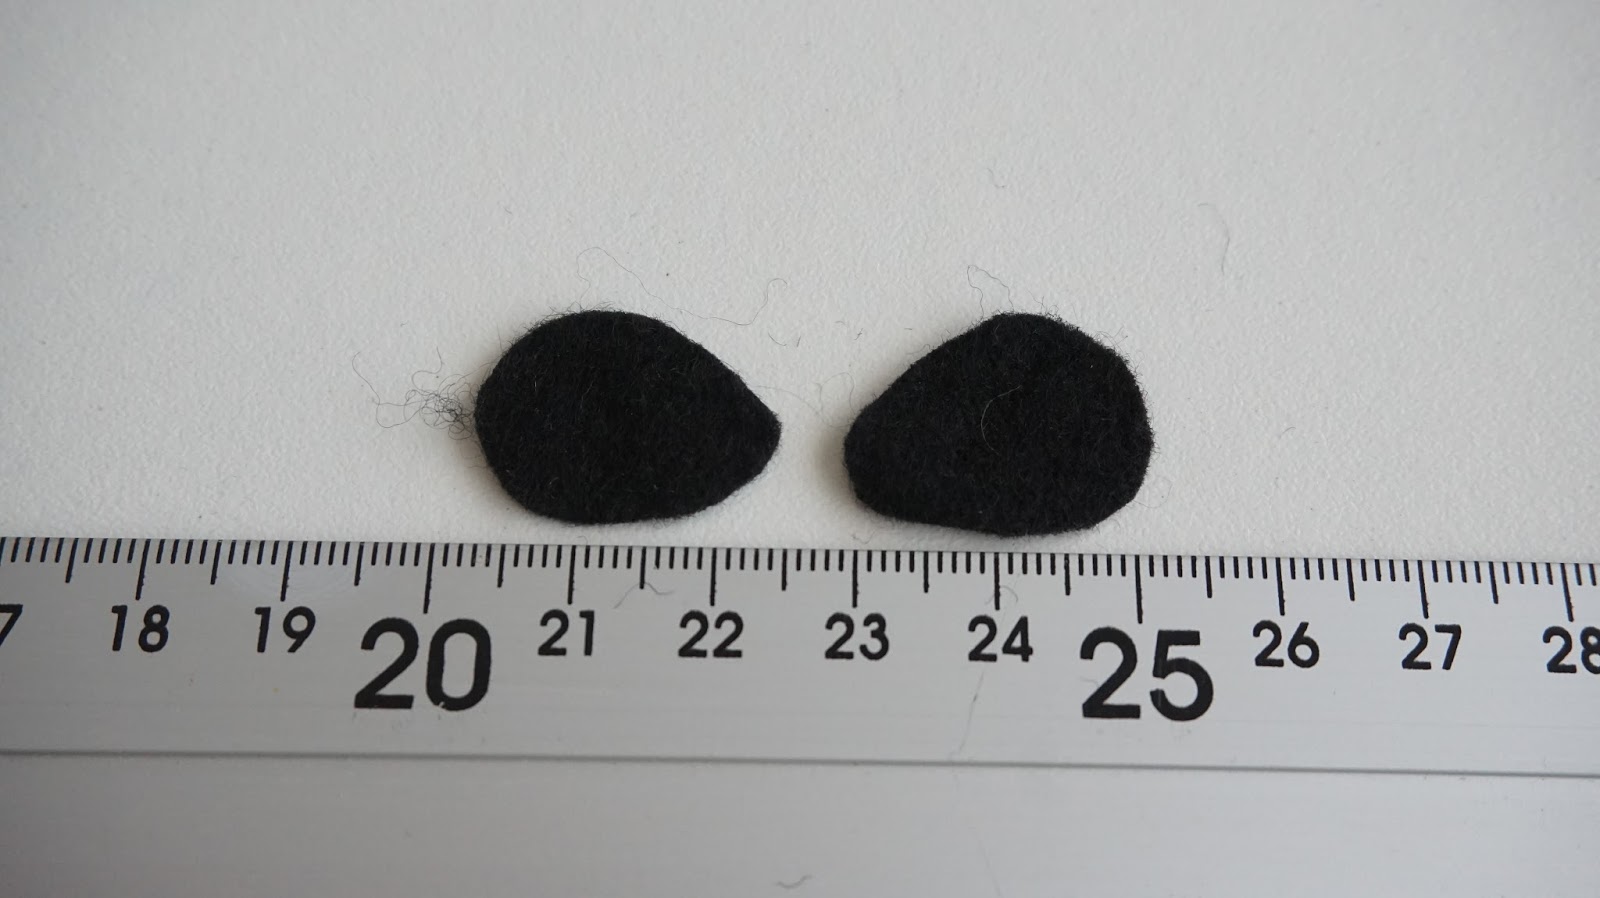
2 abalorios de bolitas negras.
Ganchillo de 1'5mm.
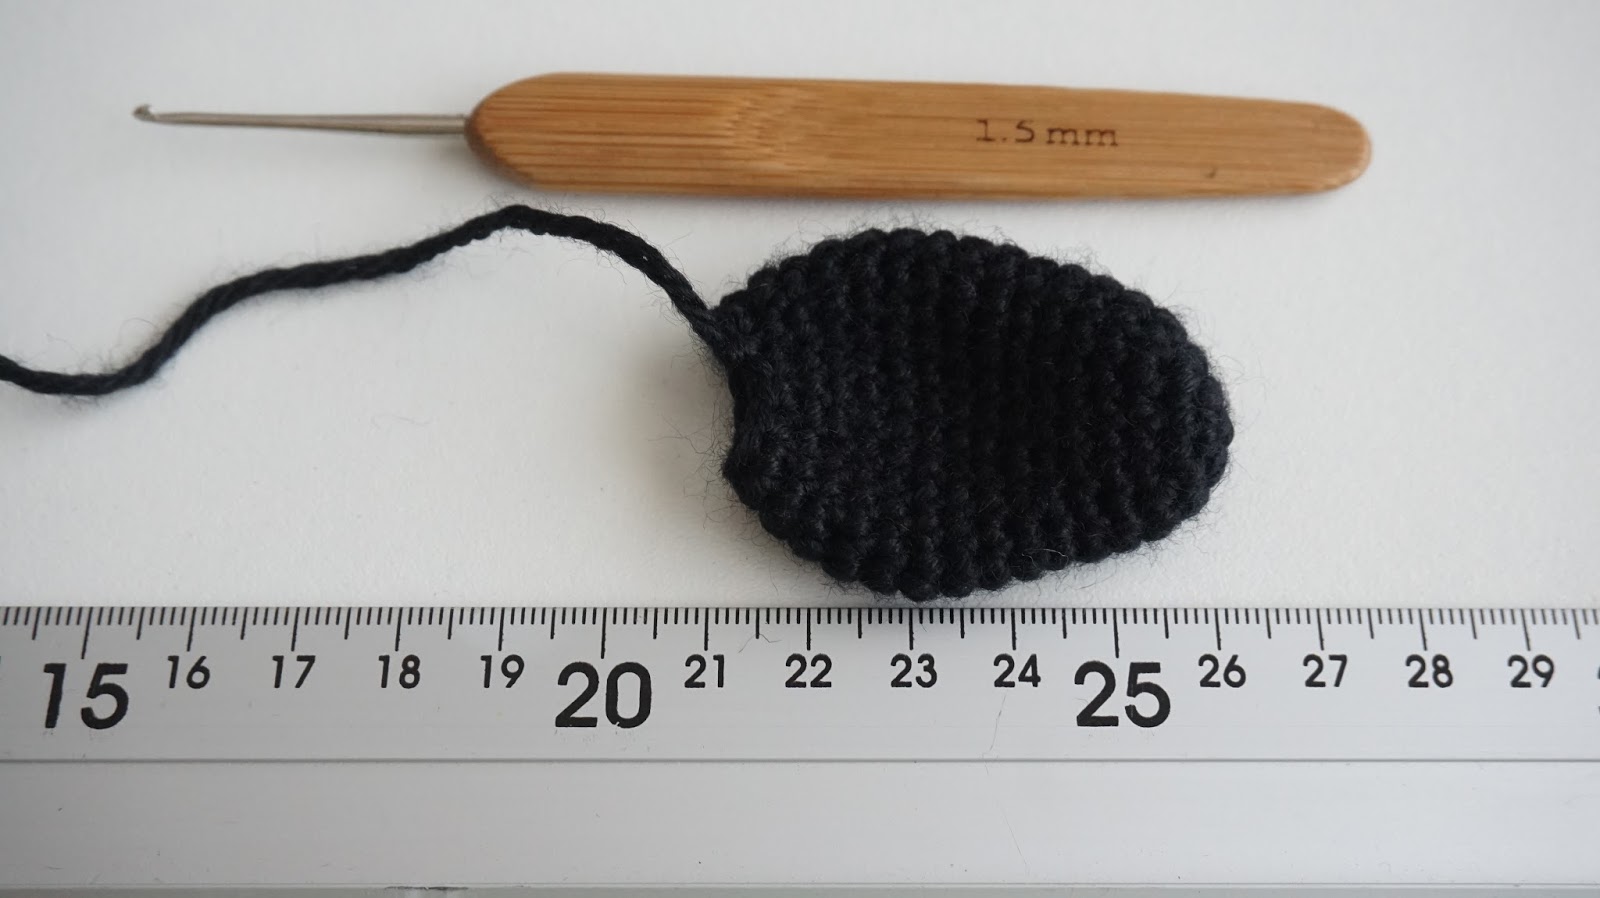
Hilo negro y aguja.
Abreviaturas:
Español Inglés Francés
AM- anillo mágico- magic ring.- cercle
Pb- punto bajo- single crochet.- maille serrée
Pe- punto enano- slip stitch.- petite maille
A- aumento- increase.- augmenter
D- disminución- decrease.- diminuer
Mp- medio punto- half double crochet demi bride
Pa- punto alto- double crochet.- bride
Cad- cadeneta- stitch.- chainette
Rep- repetir- repeat.- serrée
v- veces times
3. 1 pb, 1 A... ( 18 pb )
5. 3 pb, 1 A...( 30 pb ).
Vamos a ir cambiando de color en cada vuelta ( los dos tonos de rosa oscuro )
6-11. 30 pb.
12. 3 pb 1 D...( 24 pb ).
13. 24 pb.
14. 2 pb, 1 D...( 18 pb ).
15-16. 18 pb.
17. 1 pb, 1 D...( 12 pb ).
Cortar y rellenar.
Cabeza ( head ):
3. 1 pb, 1 A... ( 18 pb )
8. 2 pb, 1 A...( 24 pb ).
9. 3 pb, 1 A...( 30 pb ).
10. 30 pb.
11. 3 pb, 1 D...( 24 pb ).
12. 24 pb.
13. 2 pb, 1 D...( 18 pb ).
14. 18 pb.
15. 1 pb, 1 D...( 12 pb ).
Cortar y rellenar.
Nariz ( nose ):
Rosa oscuro.
1. AM 4 pb.
Rosa claro
2. 4 A por exterior de las cadenetas.
3. 8 pb.
Orejas ( ears ).
Rosa oscuro.
1. AM 6 pb.
2. 6 pb.
3. 1 pb, 1 A...( 9 pb ).
4. 2 pb, 1 A...( 12 pb ).
5. 3 pb, 1 A...( 15 pb ).
6-7. 15 pb.
8. 2 pb, 1 D...( 12 pb ).
9. 1 pb, 1 D...( 9 pb ).
Cortar.
Pies ( foot ).
Rosa claro.
1. AM 6 pb.
2. 6 A ( 12 pb ).
3. 12 pb.
4. 5 D, 2 pb. ( 7 pb ).
5-8. 7 pb.
Cortar.
Manos ( hands ).
Rosa claro.
1. AM 6 pb.
2-10. 6 pb.
Coser los ojos y bordar cejas y boca con el hilo negro.


 {{ article.title }}