這款雨衣好可愛喔!第一次看到是在日本的環球影城,看到店面賣的,超可愛的~~~~~~
文章來源:http://prudentbaby.com/2013/01/baby-kid/how-to-sew-a-raincoat/
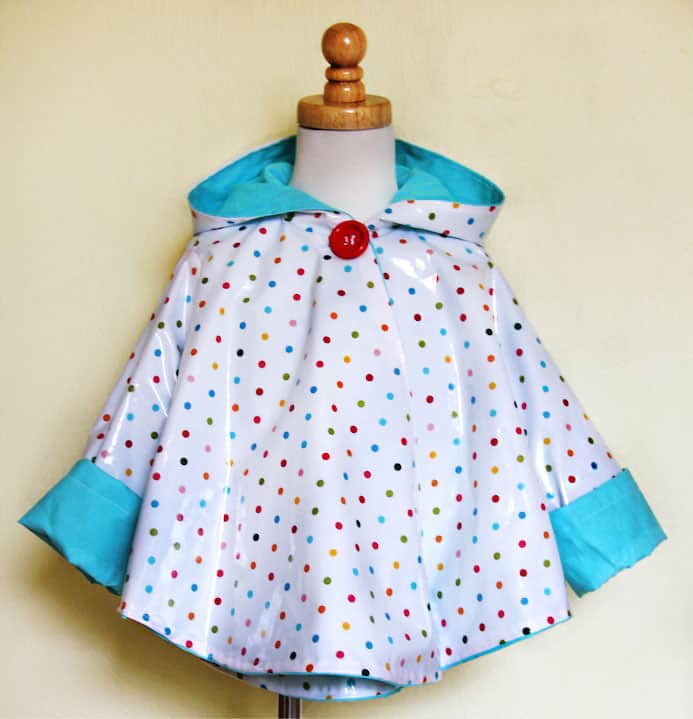
Winter has been settling in quite nicely here in Southern California. As much as I love beach days in January, it’s also great to wake up to dark, looming clouds overhead. With rain on the brain, this tutorial from Jessica at Me Sew Crazy seems perfect for embracing these winter months. You’ll notice it’s more of a poncho-style raincoat too. So cute!
On Me Sew Crazy you can also find a tutorial for winter Sherpa Boot Cover Ups. The Bustle Backpack and Fishtail Circle Skirt are great back-to-school projects. If you’re looking for more sewing patterns and tutorials, check out the online search engine SewSet that Jessica and her husband created.
Now, let’s jump right in to learn How to Sew a Raincoat…
Looking for a quick raincoat for your little one? I happened to be on the market for two new raincoats since my kids outgrew their ones from a couple of years ago.
I stumbled across this adorable rainbow polka dot Sunny Skies fabric by Riley Blake in cotton laminate (my favorite), and fell head over heels…
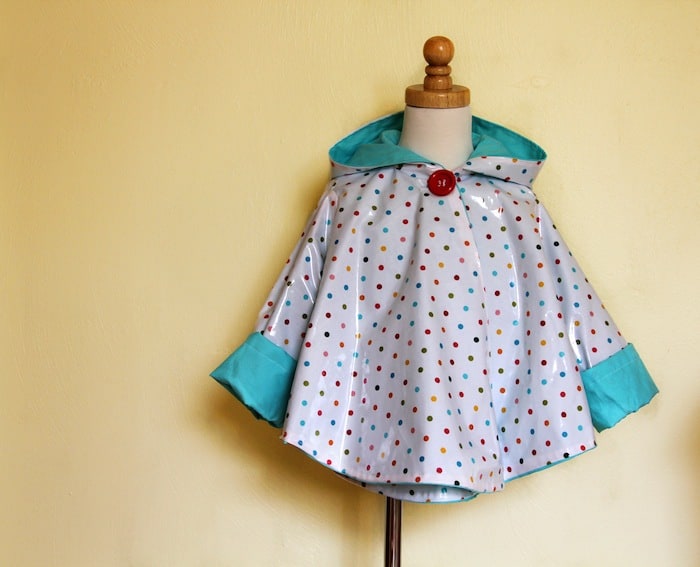
What is not to love?! Instead of a structured rain coat, this fun and happy fabric needed a swinging style. And I was more than happy to whip something up for the youngest daughter in the house.
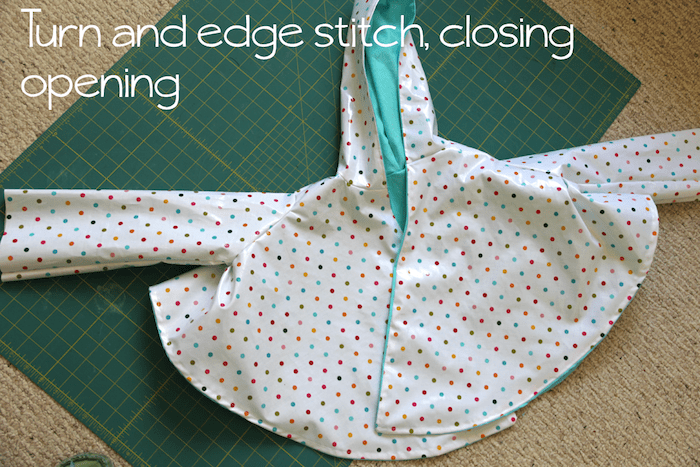
Making one is pretty simple. Don’t be scared off by working with laminates, it isn’t as hard as you think! I really love working with this versatile fabric. Let me show you what I did to make this poncho.
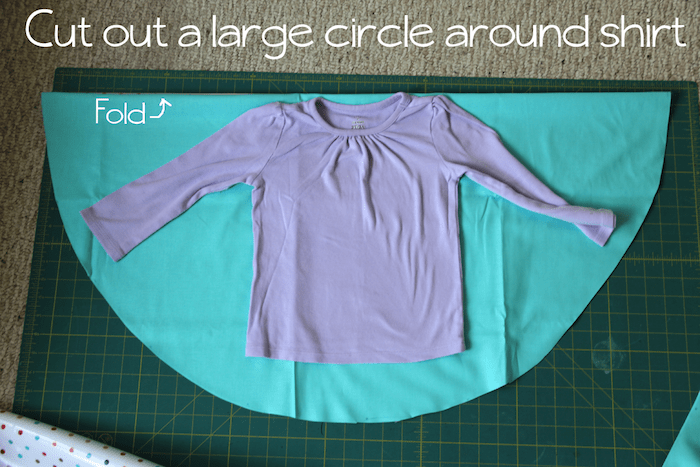
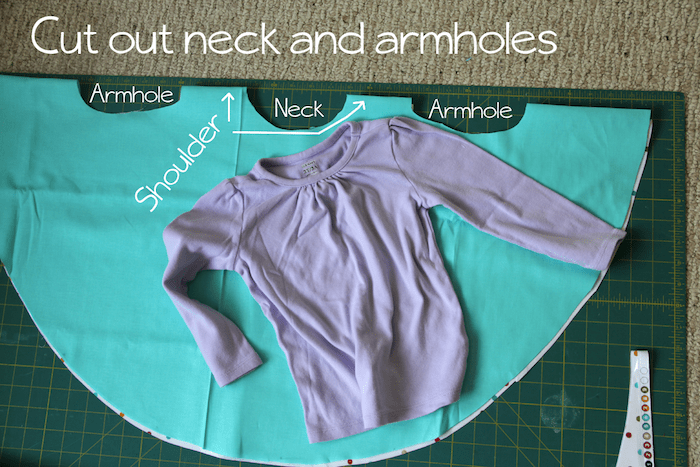
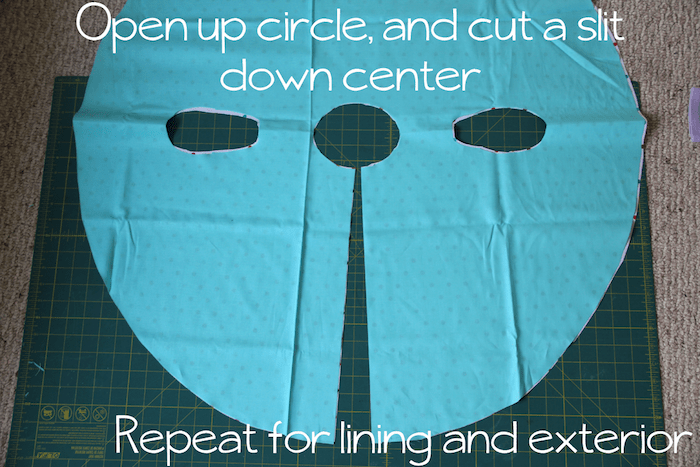
First off, I used 1.5 yards of laminate cotton for the exterior, and an additional 1.5 yards of regular cotton for the lining. Using a pre-existing T Shirt for sizing…
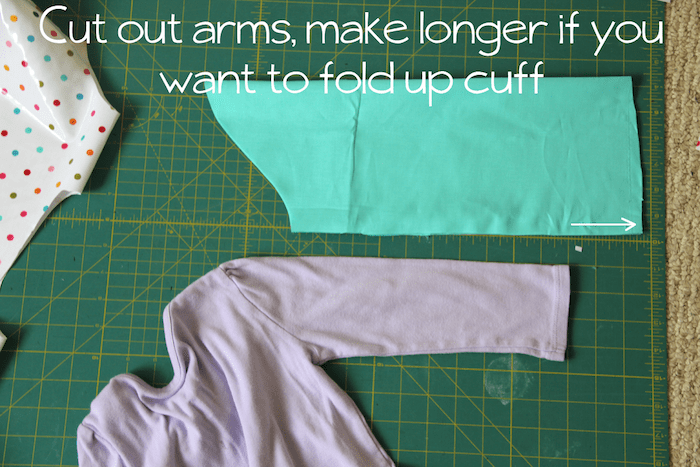
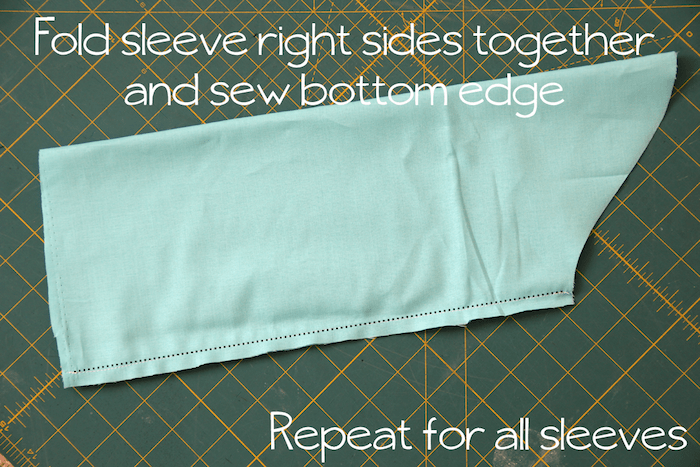
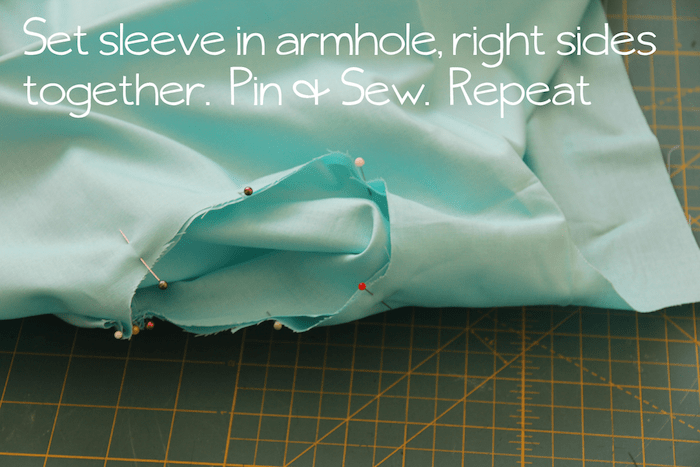
You can actually omit cutting the armholes if you don’t want to add sleeves to the poncho. I like sleeves for my kids so they can still wear their backpacks in the rainy weather.
I always make my sleeves longer than necessary, lesson I have learned throughout the years to extend the life of your kids clothing!
The great thing when you are doing all of this with the laminate is that you are working with the wrong side constantly against the sewing machine, so you don’t need to worry about the ‘sticky’ factor.
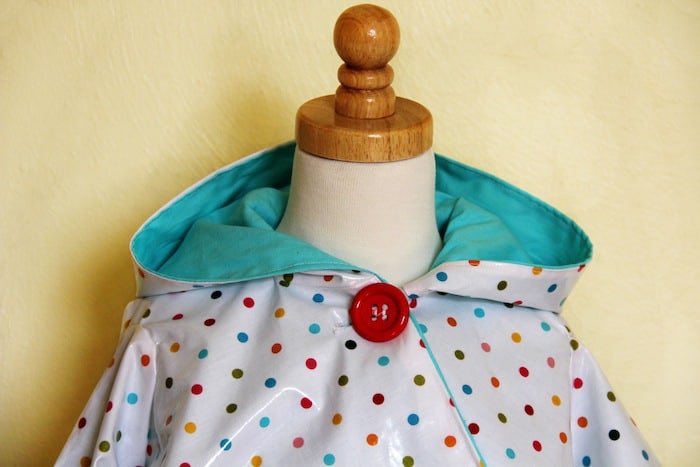
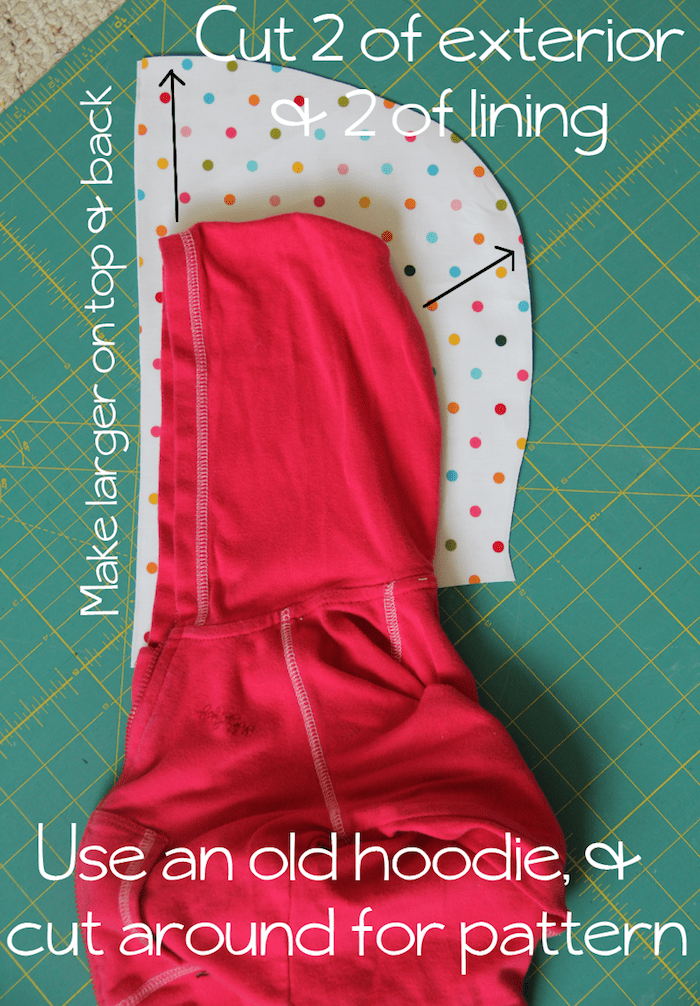
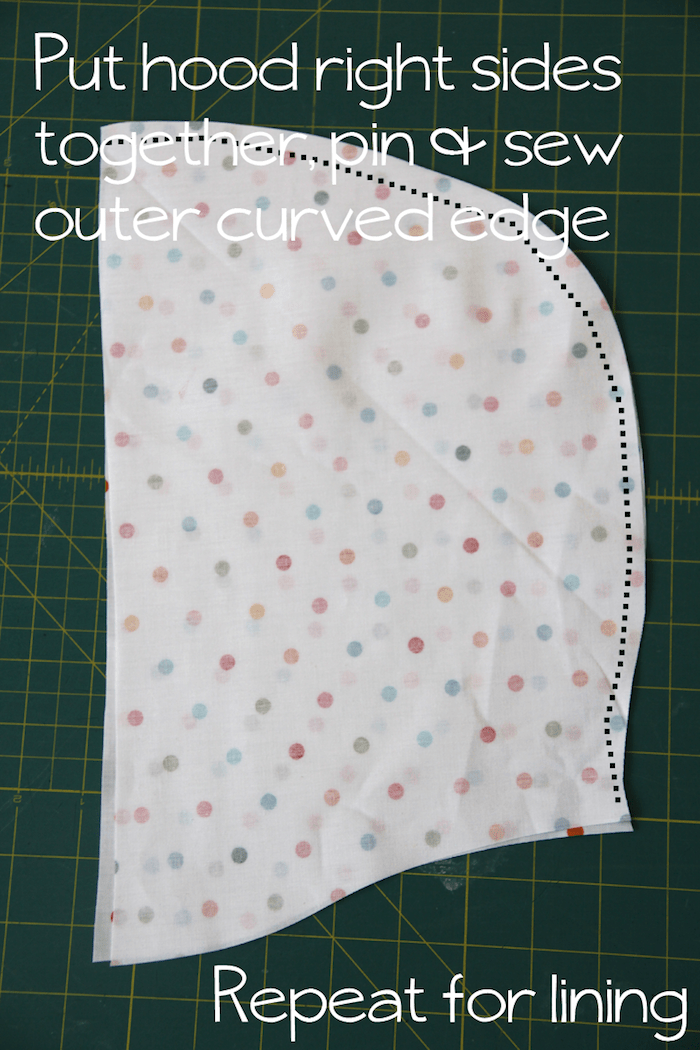
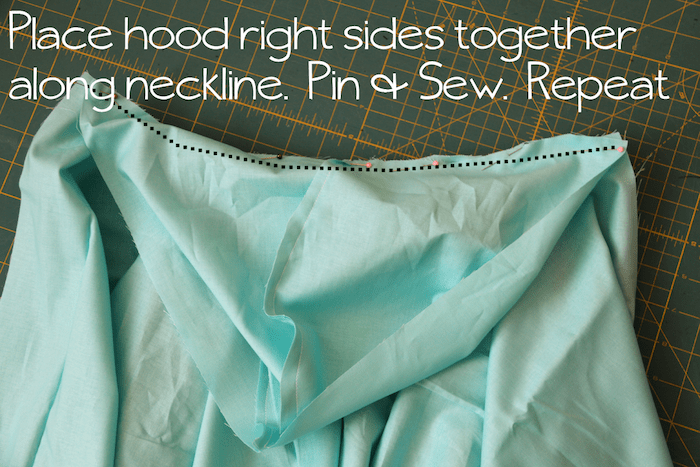
Now for the hood. Grab a pre-existing hooded sweatshirt for pattern sizing. Be sure to add extra room around the back and top of hoodie for pattern for a nice roomy hood.
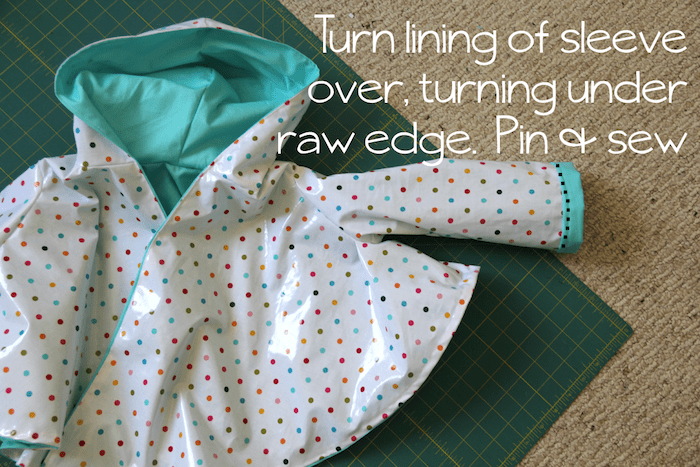
I like using this method for hemming the sleeves as it eliminates any tricky sewing with the laminate. Your machine is always on the cotton!
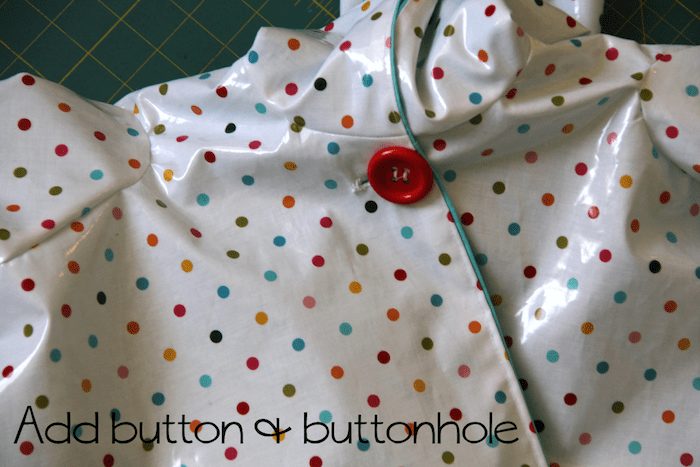
You will be thrilled with this poncho, and it will last for a couple of years (which in kid life is an eternity). Cotton laminate can go in the washer and dryer, or better yet – just get wiped off. How stinking cool is that?! And with all of the absolutely fantastic designs coming out now in this fabulous fabric – you just have to try working with it for yourself!!!
Got some skills? Try sewing an inside back panel pocket so that the poncho can fold in on itself and turn into a bag you can carry around. You know you want to.




 留言列表
留言列表
 {{ article.title }}